Holidaypac
  Oct 08,2026
Custom counter display boxes work best when the product layout is decided before the artwork. Start with the available counter space, the size of each packaged item and the quantity assigned to each SKU. Then choose an open tray, divided rows or individual compartments, and check the arrangement with physical samples.
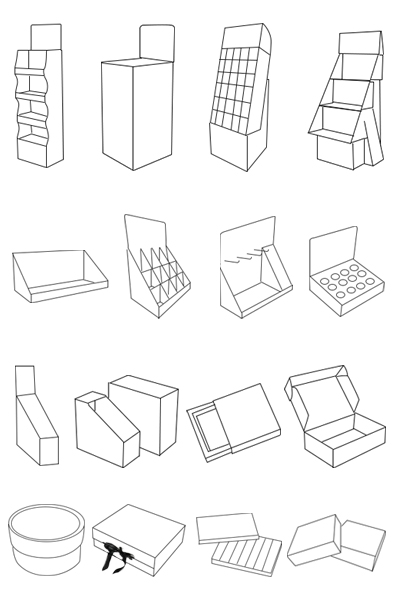
This guide focuses on a practical buying decision: how to keep a mixed assortment visible, separated and easy to refill. Explore Holidaypac’s custom counter displays for structure examples; use the checklist below to define your own project.
1. Plan the assortment before sizing the box
A SKU is one distinct product variation, such as a flavor, color or pack size. A facing is a product position visible from the front. These are different decisions: one SKU may occupy several front positions, while another needs only one.
List the packaged width, depth, height and weight of every item. Include hanging tabs, seams or other protrusions. Decide which side should face the shopper, how many units belong in each row and whether staff refill from the front or above. Do not size the display from the unpackaged product alone.
Record the retailer’s usable footprint separately from the display’s internal dimensions. Walls, folds and dividers take up space. A finished counter unit must also leave room for shoppers to remove products and for staff to work around it.
2. Choose the least complicated layout that works
| Layout | Consider it when | Check on the sample |
|---|---|---|
| Open tray | The assortment is simple and packs remain organized without separation. | Whether items slide, lean or obscure one another as stock sells down. |
| Divided rows | Different variants need assigned lanes. | Lane width, divider retention and finger access. |
| Individual compartments | Each pack needs a defined position. | Fit variation, removal effort and the time needed to refill every position. |
More compartments are not automatically better. An insert that fits tightly can make a flexible pack difficult to remove. A divider that works with a full row may allow the final item to lean. Test these situations before choosing the final structure.
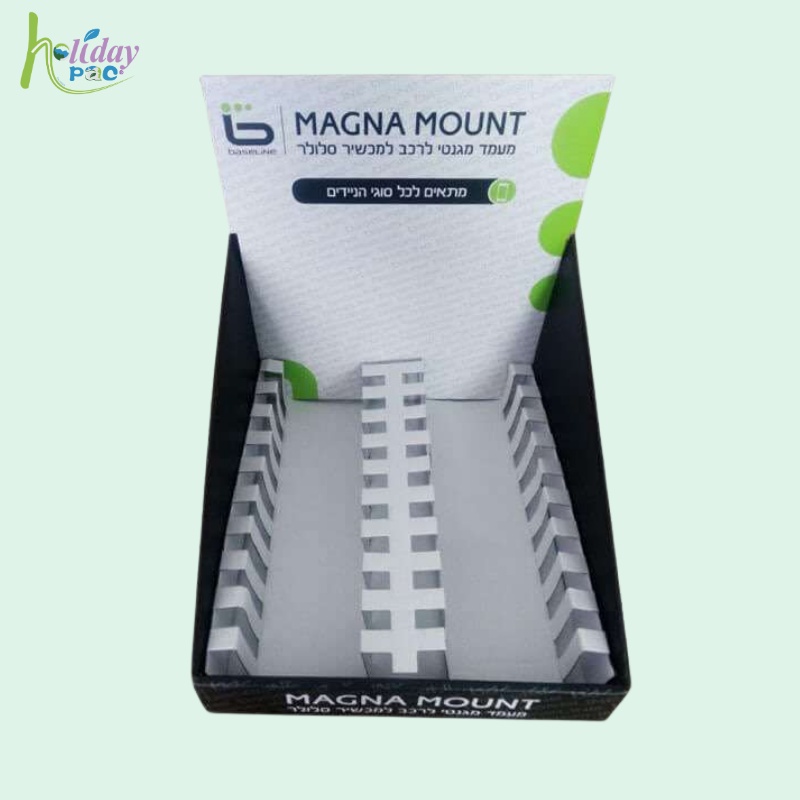
A partitioned example
The existing Holidaypac countertop display with dividers illustrates a center partition and separate product positions. Use it as a structural reference, not as a promise that its layout will fit a different product.
Existing catalog image. Product fit and capacity must be confirmed for each project.
3. Balance capacity with visibility
Start with a simple count: front positions multiplied by units behind each position gives a proposed quantity for a single-level arrangement. That count does not establish load capacity. The material, base, insert and assembled structure still need review using the intended products.
Compare the fully stocked arrangement with a half-empty one. Can shoppers still read the product names? Does the front lip hide small labels? Can they remove an item without pulling its neighbor out? For mixed pack sizes, separate lane dimensions may be more useful than a symmetrical layout.
4. Make replenishment part of the brief
Decide whether the display will arrive empty, assembled or packed with merchandise. Identify who will load it and where that happens. If an insert is removable, confirm how staff put it back correctly and whether its orientation is obvious.
For a counter used throughout a campaign, include a refill trial. Remove products from different positions, replenish one SKU at a time and check whether the insert shifts. Agree a clear location for each variant so staff do not have to guess the intended assortment.
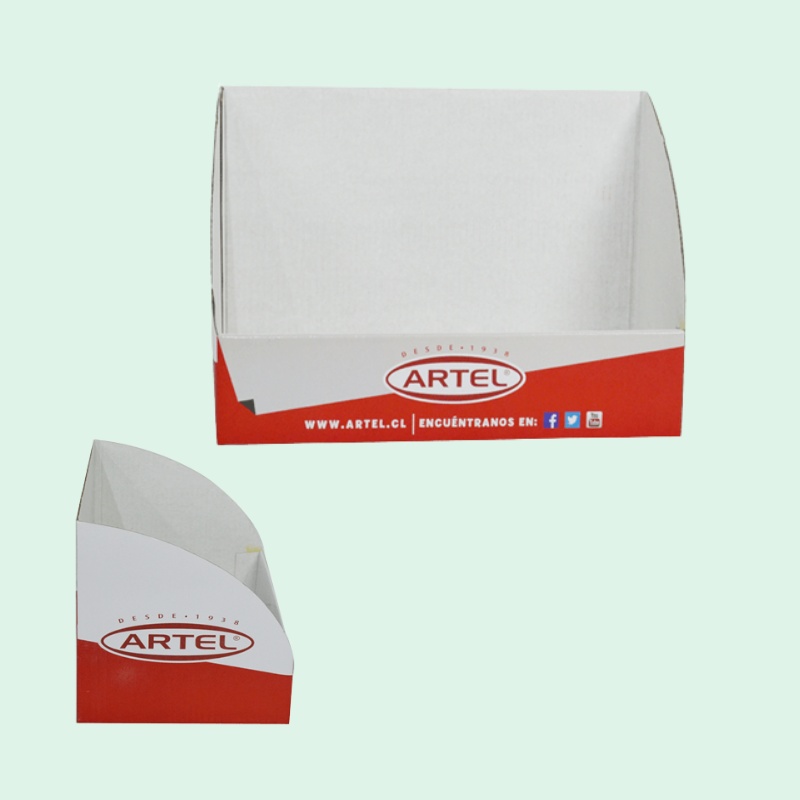
Check the opening as well as the graphics
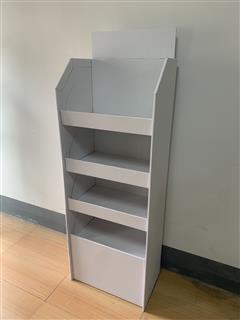
This stationery counter display example shows the relationship between the front opening and taller back panel. When adapting a tray, check the reach into its corners and the visibility of the last remaining products.
5. Send a layout brief that can be quoted
- Product photographs, packaged dimensions and weight for every SKU.
- Target quantity per SKU and the preferred front-facing arrangement.
- Available counter width, depth and height, plus retailer restrictions.
- Preferred tray or divider layout, artwork and price-label positions.
- Loading method, order quantity, destination and requested launch date.
- Sample approval criteria, including full and partially emptied conditions.
Ask the supplier to distinguish confirmed details from assumptions in the quotation. Keep price, material, assembly and packing comparisons tied to the same brief. If the display must also function as a shelf-ready pack, review the PDQ tray options and specify the shipping-to-display requirements separately.
Frequently asked questions
Does every counter display need dividers?
No. Dividers are useful when products need assigned positions or separation. An open tray may work for a simple assortment, provided a sample confirms that products stay accessible and organized.
Can different pack sizes share one display?
They can be considered in a custom layout, but equal-width lanes may not suit them. Supply each packaged size and check the proposed arrangement with representative products.
How many products can a cardboard counter display hold?
The quantity depends on the usable space, product arrangement and validated structure. A unit count is not a load rating; confirm both fit and loading conditions on the agreed sample.
What should I send to request custom counter display boxes?
Send packaged product dimensions and weights, SKU quantities, counter-space limits, artwork, order quantity and destination. Include how the display will be loaded and the date it is needed.
Planning a mixed-SKU counter display? Send Holidaypac your product and retail-space brief to discuss a suitable structure and sample review.